

In the aftermath of a flood or fire, surveying the impact to your collection can evoke deep despair. You may think there’s no way it can be salvaged, much less restored.
Wait — don’t resign yourself to the loss of your treasures!
At Stella Art Conservation, we highly recommend you call a specialist to help you with the emergency response, but if this is not an option, here’s how you facilitate art recovery once your home is cleared for re-entry.
Insurance Matters
For starters, do you have a fine art insurance policy? Every high-value collection needs one. The average homeowner insurance policy doesn’t reimburse damage to costly artworks since their value exceeds typical coverage limits.
Secondly, have your pieces been photographed and appraised within the last two years? Such documentation is key to getting reimbursed for the current market value of your objects.
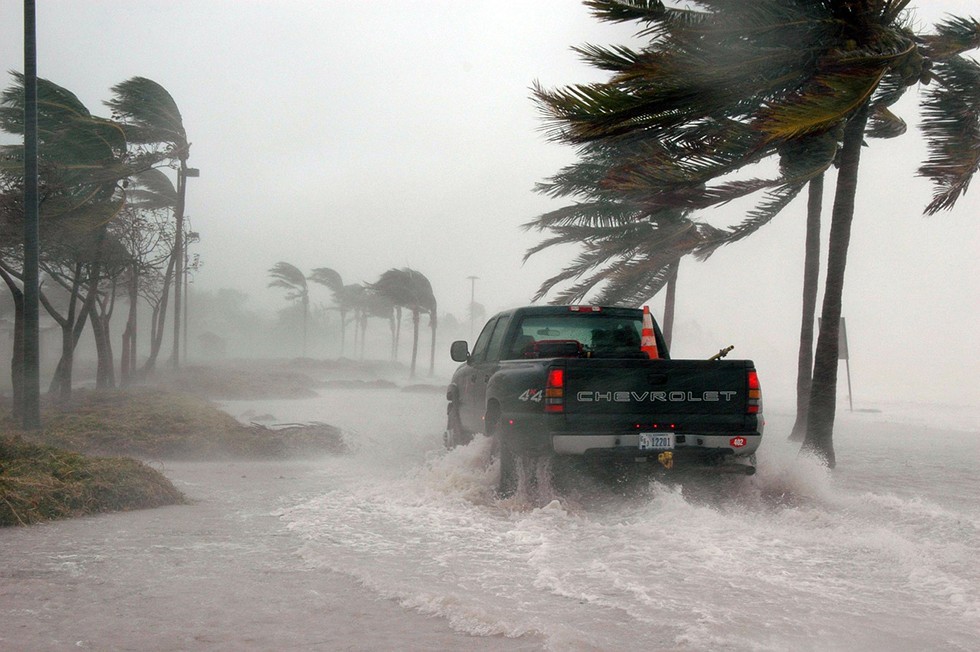
If your collection isn’t well-insured, recently assessed, and photographed, we hope you’ll be reading this article proactively. In that case, you have time to make these arrangements before flooding or fire occur. This blog on hurricane preparedness can help you.
Emergency Response
We suggest you call upon experts to clean up your home, however, if you prefer to do it yourself, here are a few tips:
Flood Recovery
Be Prepared
Make sure you protect your art by following these 10 steps to protect your art from Hurricane Damage.
Being prepared is the best way to prevent damage to your artworks and ensure you preserve your treasure for future generations.
Work Safely
Before tending to your artworks, put on a long-sleeved shirt, long slacks, waterproof footwear, and disposable latex or nitrile rubber gloves. Also ideal are coveralls.
Note that mold can start growing within 48 hours of flooding. Therefore, protect yourself from mold spores by wearing safety glasses and a disposable N100 respirator mask, sold by hardware and home improvement stores. Also, upon removing your gloves, before touching anything, thoroughly wash your hands with soap and water.
Optimize Results
Review your art inventory and determine which objects are most valuable to you, whether for sentimental, monetary, or legacy reasons. Next, take pictures of these items and any surrounding floodwater. Submitting the photos to your art insurer will expedite reimbursement.
Then, use the guidelines below to clean your articles, according to their type. In this blog, we cover framed art, photographs, murals, pottery and ceramics, metalwork, textile and fabric art, and basketry.
Prioritize the rescue of your treasures, starting with those in dire need. For information on our related services, follow our webpage links.
1. Framed Art: Glass-free

Handle paintings as briefly and infrequently as possible. Always avoid touching the paint surface with your fingers. Please don’t carry paintings from frames top bar alone, they may fall apart, nor from a possible hanging wire. Set down the artworks very gently, preferably on a cushion.
Now carefully inspect the surface of each artwork with natural and raking light. Is it cracking, flaking, or otherwise deteriorating? If so, don’t touch it, you could cause further damages, possibly even irreversible. Call your art conservator immediately.
Air-dry the objects slowly by placing them in a room with good circulation, away from heat and sunlight. Increase room airflow by using a dehumidifier. Collect and preserve any detached fragments to give to your art conservator for treatment.
2. Framed Art: Behind glass
Remove the frame and glass, provided the artwork isn’t stuck to the glass. Then, air-dry the piece face-up with nothing on its surface. For art affixed to glass, do not remove its frame. Instead, turn the object glass-side down and air-dry it. Leave the remaining treatment to our experienced art conservators.
Note that you should never dry framed art by subjecting it to sunlight, hairdryers, ovens, or irons. Their intense heat will evaporate moisture too fast, causing surface buckling, warping, and splits.
3. Photographs
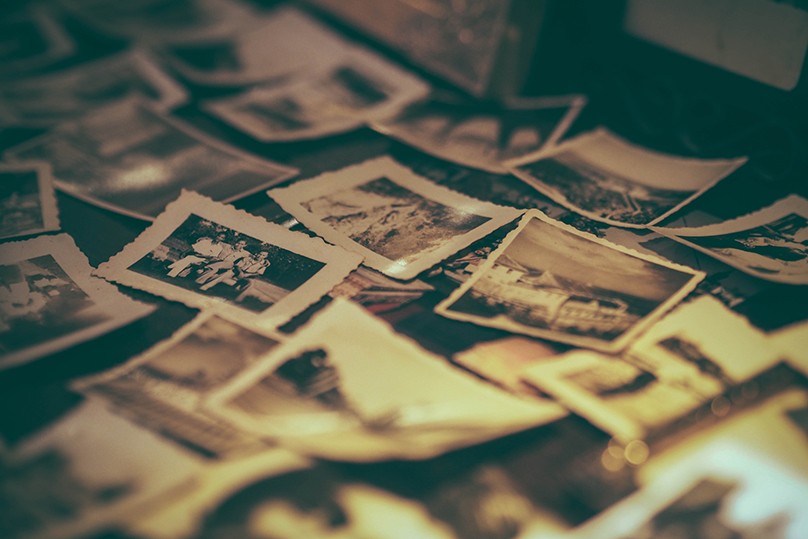
Before freeing pictures from wet photo albums, evaluate whether they’re stuck to the plastic sleeves. If so, rather than tugging on them, cut and peel away the plastic. Then, gently extract the pictures. If they’re muddy or soiled, rinse them in clear water, holding them by their edges.
Next, lay the images face-up on absorbent paper, not touching each other, and allow to air-dry. As water puddles on the picture surfaces, lightly blot them with a soft cloth. Alternatively, dry photos by clipping them to a clothesline, using plastic clothespins at their edges.
4. Murals
Do you have frescoes, tempera paintings, or murals needing rehabilitation? If so, contact Stella Art Conservation to discuss treatment.
5. Pottery and Ceramics
If pottery is broken or glazes have detached, place the pieces for each vessel in a separate, labeled container. Then, air-dry the fragments with the lids off.
Don’t try fixing the objects yourself. Let the experts do it.
6. Metalwork

Use clean water to rinse metalware of floodwater, silt, and mud. Then, immediately dry the metal with a soft, clean cloth. To speed water evaporation, place objects in an air-conditioned room. Or, circulate the air with fans. Just don’t point appliances directly at your masterpieces.
If large metal sculptures are caked with mud, allow to air-dry, but leave the mud removal to us. We also treat wooden sculptures.
7. Textile and Fabric Art
Note that wet textiles are quite heavy, posing a risk of muscle strain when lifted. Accordingly, before moving wall hangings and the like, ask strong individuals for help. To keep fabric from stretching or tearing, support textiles from below.
Never stack wet materials, as their weight will flatten the fibers. Plus, poor air circulation extends a warm invitation to mold spores.
If a damp textile is hand-washable, take it outdoors and re-wet it. Maintaining low water pressure, rinse off any mud, silt, and debris. However, if the fabric is dry, stuck together, and delicate, don’t pry it apart, as this may render tears. Instead, hose it down first.
Then, using your palms, gently press out the water and smooth the material, one section at a time. Soak up the remaining water with dry toweling, ink-free paper, or blotting paper. Do not wring or twist the textile. While the fabric is still damp, gently reshape it. Then, lay the item flat, and let it dry in the sun.
To rescue a dry-cleanable textile, take it outside and gently brush off any debris and mud. However, don’t rinse it, as more water can further harm it. Allow the sun to dry the item, followed by bringing it to a professional dry cleaner.
8. Basketry
Using a garden hose, gently rinse baskets and allow to drain, blotting residual moisture with towels. Avoid squeezing baskets, as this promotes permanent disfigurement. Ouch!
You can help baskets resume their normal shape by padding with toweling or cotton sheets. Allow to slowly air-dry, periodically replacing the wet padding with dry cloths.
Video Tips
Before launching into flood clean-up, take a few moments to watch this brief video. You’ll learn how to protect yourself from contaminated water, eliminate floodwater, and treat sodden items.
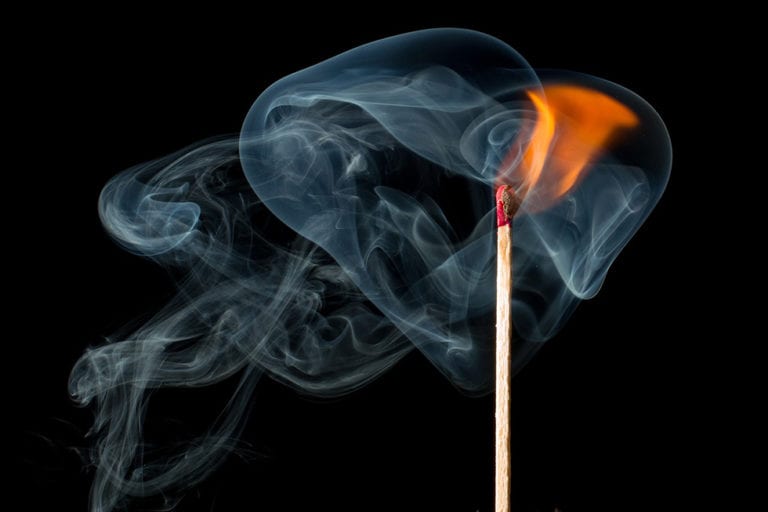
Fire Recovery
In large part, the handling and treatment of your collection will need the care of expert art conservators. The longer soot coats an object, the more deeply embedded it becomes. Therefore, your prompt efforts to remove soot will advance art recovery.
Preparation
After a fire, salvaging damaged art begins with applying protective gear — a long-sleeved shirt, full-length pants, coveralls, sturdy footwear, safety glasses, rubber or latex gloves, and a disposable N100 respirator mask. Without this type of high-filtration mask, you’re at risk for inhaling mold, soot, ash, chemical residues, and possible asbestos and lead.
If the fire caused considerable structural damage to your home, take precautions against falling debris by wearing a hard hat. Once you’re outfitted, take photographs of your damaged articles, to accompany your insurance claim.
Handling Techniques
Scorching flames and dousing water make artworks especially fragile. Ash and soot are highly abrasive and easily spread. Therefore, to prevent scratching and fragmentation of your objects, try to handle them minimally and carefully.
By wearing gloves, you’ll prevent greasy soot from mixing with your skin oils and sticking to art media. Avoid pressing against blistered or raised surfaces, as this can trigger cracking. When lifting ceramic vases, rather than grasping their handles, support them at their bases. Another way to lift and move items is by using plastic sliding boards or wooden pallets, inserted beneath them.
On a more positive note, although book covers look charred, their pages may be intact. The same goes for photo albums. However, if plastic sleeves are stuck, leave the albums closed. Let us free the pages and photos.
Vacuuming
To remove ash and soot, do not apply water or cleaning solutions, as they’ll drive the cinders more deeply into surfaces. Instead, once your artworks are dry, vacuum them. Ideally, use a vacuum equipped with a HEPA filter.
In case of paintings and paper extra-care needs to be taken, consider calling your art conservator as soon as possible, rather than taking risks.
Suction must be gentle. Otherwise, ash and soot will fly, migrating to new locations. Vacuum at the lowest setting, or reduce suction by using small hoses. With folded or closed items, such as textiles and books, vacuum their outer surfaces first, followed by folds and crevices.
Avoid touching the hose nozzle to objects, as this will grind the cinders into them. For the same reason, never use brush attachments.
Dry Sponging
After vacuuming, if artworks are sturdy enough, you can further remove grunge with dry “soot sponges,” sold by hardware stores. To keep the grime from smearing, gently press the sponge into the soot, using a dabbing technique.
Repeat this process across the object surface. As the sponge blackens, cut off the sooty parts and use the clean edges. To get the most mileage from sponges, cut larges ones into smaller pieces.
Video Tips
This seven-minute clip illustrates fire clean-up methods, including vacuuming and the use of soot sponges.
Expert Conservators
A vital step in your recovery process will be calling Stella Art Conservation, specializing in salvaging damaged art. We can streamline claims processing by providing the necessary documentation.
Once your claim is filed and approved, we’ll assess the state of your collection and devise a treatment plan. However, rather than waiting for our advisement, you should begin clean-up immediately.
Let's Do a Quick Recap
So far, you’ve reported the flood or fire to your art insurer and cleaned the works you’d like restored. You’ve contacted us to arrange an onsite assessment.
Now, our emergency response team arrives at your home. They evaluate and stabilize your collection to prevent ongoing decline. Next, your objects are safely transported to our studio for precise reconstruction in our modern lab.
For each artwork, our conservators perform a comprehensive study, noting its composition, damage history, and compatible materials. Then, they customize a treatment plan to redeem its splendor, using the most advanced methods and technologies.
At Stella Art Conservation, we’re like a hospital for ailing artworks. Bring us your wounded flood and fire survivors. We have a healing touch.
DISCLAIMER:
This article aims at offering a general guideline to follow in case you are victim of an emergency situation, however, Stella Art Conservation is not responsible for any damage that you or any another person may inflict to the artwork during the processes highlighted here. To ensure a safe handling and salvaging of your treasures it is highly recommended you call an expert.